
A Guide to Pressure Canning
Pressure Canning Tips, Tricks, and Three Delicious Recipes to Get You Started.

If you've ever wondered how to take the bounty of your garden or a stellar grocery sale and make it last long after the seasons change, pressure canning might just be your new best friend. Sure, it sounds a bit intimidating – the hissing pot, the talk of “botulism” if it goes wrong – but once you get the hang of it, pressure canning is incredibly safe and, dare I say, fun!
Whether you're a seasoned gardener, a homesteading enthusiast, or someone just trying to save a little extra cash, pressure canning is a skill that keeps on giving. And don't worry, I've got three easy and tasty recipes at the end that will have you canning like a pro in no time!
What is Pressure Canning?
Simply put, pressure canning is a method of preserving food by heating jars to a temperature high enough to kill bacteria, yeasts, molds, and other nasty stuff that can spoil food. Unlike water-bath canning, which can only safely preserve high-acid foods (like jams, jellies, and pickles), pressure canning is perfect for low-acid foods like meats, soups, stews, and vegetables.
With pressure canning, you're creating a vacuum seal that keeps food fresh, safe, and delicious for months – even years!
Why Use a Pressure Canner Instead of a Water-Bath Canner?
The main difference between pressure canning and water-bath canning is that pressure canning allows you to heat food to much higher temperatures. This kills Clostridium botulinum, the bacteria responsible for botulism, which thrives in low-acid environments. So for any canning project involving low-acid foods, a pressure canner is a must.
A note of reassurance: When used correctly, pressure canning is safe, reliable, and one of the best ways to store your garden’s goodness.
Getting Started: The Pressure Canning Basics
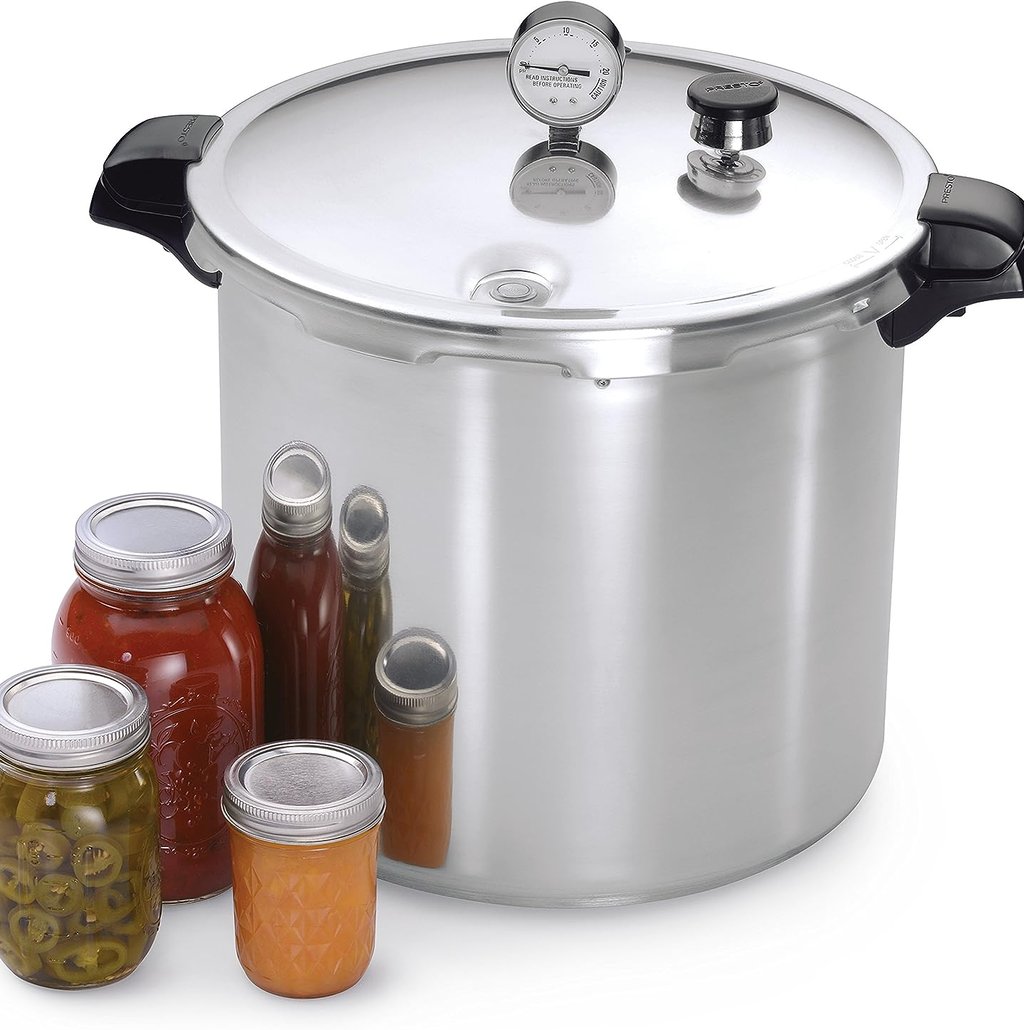
1. Choose Your Canner
There are two types of pressure canners: dial-gauge and weighted-gauge. Each has its pros and cons, but both will get the job done. The main difference? Dial-gauge canners have a gauge that shows the exact pressure, so they require more frequent calibration. Weighted-gauge canners use weights to keep the pressure stable, which makes them slightly more hands-off.
Both work wonderfully, so choose whichever one fits your comfort level and budget.
2. Gather Supplies
Here’s your shopping list:
A pressure canner (of course!)
Mason jars with two-piece lids (lid and ring)
A jar lifter (to safely move hot jars)
Canning funnel
Clean cloths and vinegar (for wiping rims and removing any residues)
3. Prep Your Jars
First things first, wash your jars, lids, and rings in hot, soapy water. Sterilize them by simmering for 10 minutes or, if you're like me, pop them in a hot dishwasher cycle. Keeping jars hot is crucial; adding hot food to cold jars can lead to cracking.
4. Fill Jars with Food
Whether you’re canning a hearty stew, fresh veggies, or tender meats, make sure you leave some headspace (typically about an inch) at the top of the jar. This room allows the food to expand as it heats, creating that magic vacuum seal we’re after.
5. Wipe Rims and Add Lids
To ensure a good seal, wipe the rims of your jars with a cloth dampened in vinegar. Place the lid on each jar, add the ring, and tighten to fingertip-tight – meaning tight enough to hold the lid in place, but not so tight that no air can escape.
Step-by-Step Pressure Canning Process
Add Water to Canner: Place your jars on the canner rack and pour in 2-3 inches of water. Be sure to follow your canner’s manual for exact amounts.
Seal the Lid: Secure the lid of your pressure canner and leave the vent open. Heat on medium-high until a steady stream of steam escapes – this is “exhausting” the air from the canner.
Start the Timer: Once steam has vented for 10 minutes, close the vent and let the pressure build to the level needed for your recipe. This is where the magic happens! Start timing once you've reached the correct pressure.
Maintain Pressure: Adjust your heat as needed to keep pressure steady. Stay close by – pressure canners are reliable but do need a watchful eye.
Cool Down Safely: Once the time is up, turn off the heat and let the pressure return to zero on its own. Don’t rush it; sudden temperature changes can cause jars to break or seals to fail.
Remove and Let Cool: Lift jars out with a jar lifter and place them on a towel. Let them sit undisturbed for 12-24 hours. You'll likely hear the “ping” of sealing jars – the best sound in the world for a canner!
Pressure Canning Tips and Tricks
Stay Clean: Any debris, food particles, or residue can prevent jars from sealing properly. Keep everything pristine.
Mind the Headspace: Too little headspace can cause jars to overflow; too much can leave room for bacteria to grow.
Check Seals: After jars have cooled for 12-24 hours, gently press on each lid. If it doesn’t pop up, you’ve got a good seal! If it does, you’ll need to refrigerate and eat it soon or reprocess it.
Storage: Store jars in a cool, dark place for best shelf life. Properly canned foods can last up to 18 months or more.
Resources for New Canners
The National Center for Home Food Preservation: The ultimate resource for safe canning techniques.
Ball Canning Guide: Ball has a long history of reliable canning information and recipes.
T-fal Pressure Cooker: Amazon's top choice
Pressure Canning Recipes
Now for the fun part: recipes! Here are three beginner-friendly recipes to get you started.
1. Classic Beef Stew
Warm and hearty, this beef stew is a perfect comfort food to have on hand. Just heat, serve, and enjoy!
Ingredients:
2 lbs. beef stew meat, cubed
2 cups potatoes, diced
1 cup carrots, diced
1 cup onions, chopped
4 cups beef broth
Salt and pepper to taste
Instructions:
In each jar, layer beef, potatoes, carrots, and onions.
Add salt and pepper, then pour beef broth over to cover ingredients, leaving 1-inch headspace.
Pressure can at 10 psi for 90 minutes (adjust for altitude if needed).
2. Spicy Salsa
This salsa is perfect for spicing up tacos, burritos, or even just a simple plate of chips!
Ingredients:
5 cups tomatoes, chopped
1 cup onions, chopped
1 cup green bell pepper, chopped
½ cup jalapeños, minced
1 clove garlic, minced
½ cup vinegar
1 tsp salt
Instructions:
Combine all ingredients in a pot and simmer for 10 minutes.
Ladle hot salsa into jars, leaving ½-inch headspace.
Process in a pressure canner at 10 psi for 20 minutes.
3. Chicken Soup
Nothing beats homemade chicken soup on a cold day, and with this recipe, you’ll always have some on hand.
Ingredients:
2 cups cooked chicken, shredded
1 cup carrots, sliced
1 cup celery, sliced
1 cup onions, chopped
4 cups chicken broth
Salt and pepper to taste
Instructions:
Layer chicken and vegetables in jars, season with salt and pepper.
Pour chicken broth over to cover, leaving 1-inch headspace.
Pressure can at 10 psi for 75 minutes.
Wrapping It Up
Pressure canning is one of those homesteading skills that feels a little old-school but delivers big results. With the right tools, knowledge, and recipes, you’ll be enjoying your garden’s harvest long after it’s been plucked from the ground. Plus, there's a unique satisfaction in opening a jar you preserved yourself! Happy canning, and enjoy every delicious bite of your homemade preserved foods!
Support@rusticrootshomestead.com
© 2024 Rustic Roots Homestead - All rights reserved.