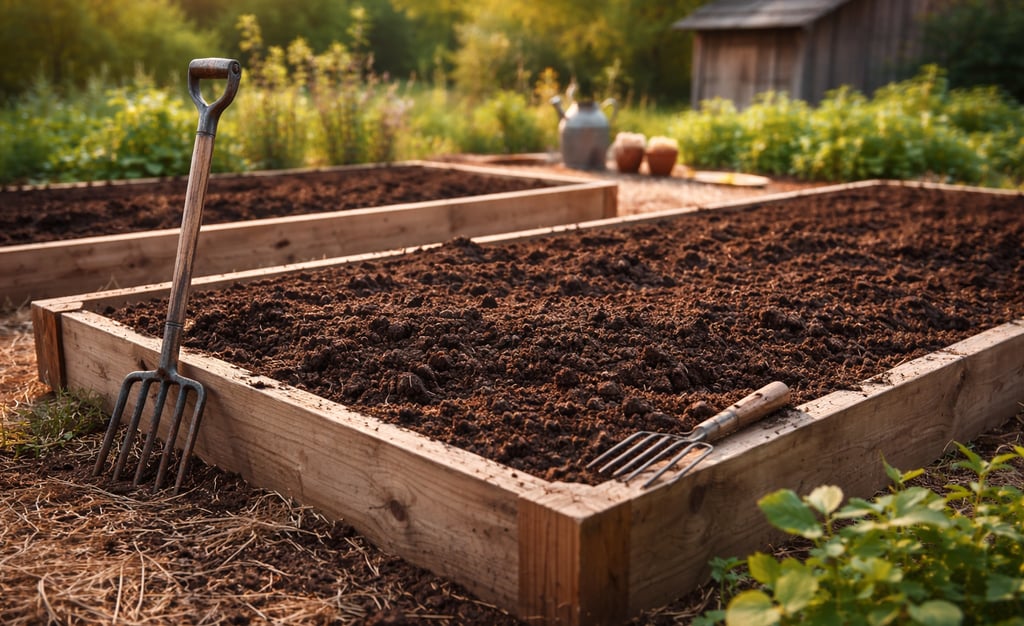
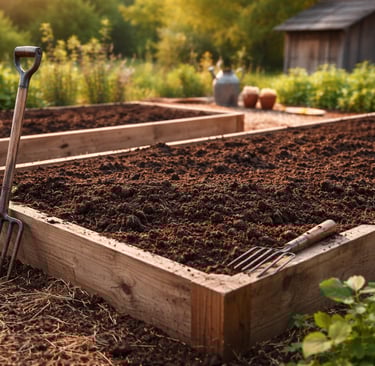
Learn Exactly How to Get a Garden Bed Ready for Planting
Wondering exactly how to get a garden bed ready for planting? Discover detailed tips, step-by-step guidance, and essential products to transform your garden.
GARDENING


How to Get Your Garden Ready for Spring Planting
Clear Your Garden Beds Thoroughly
Begin by clearing out your garden beds completely. Use sturdy garden gloves to protect your hands and a reliable gardening rake to gather debris. Remove all dead plants, weeds, fallen branches, and winter debris meticulously. Dampen the soil slightly first; this softens it and makes weed extraction far easier and more effective.
Detailed How-To:
Pull weeds firmly from the base to extract the entire root system.
Gather all organic debris into a compost bin for sustainable nutrient recycling.
Deeply Improve Your Garden Soil
Improving your garden soil is perhaps the most critical step. Conduct a comprehensive soil test using a quality soil test kit to identify specific pH and nutrient deficiencies clearly.
How-To Improve Soil:
Heavy Clay Soil: Work in generous amounts of compost, peat moss, or composted manure. This significantly improves aeration and drainage.
Sandy Soil: Integrate compost, mulch, and peat moss thoroughly to improve moisture retention.
Adjusting pH: Follow instructions based on soil test results to apply garden lime for acidic soils or sulfur for alkaline soils.
Regularly amending your soil ensures robust plant growth year after year.
Raised garden beds require special attention. Use a garden fork to loosen compacted soil gently, remove weeds, old roots, and debris, then add a generous amount of fresh compost or well-rotted manure.
How-To Guide:
Inspect your raised bed frames for signs of damage, repairing or reinforcing with hardware as needed.
Consider adding fresh topsoil annually to replenish lost soil volume.
Natural Fertilization Techniques
Fertilizing your garden naturally boosts long-term plant health and soil vitality. Compost tea, fish emulsion, bone meal, or worm castings are excellent organic choices.
Detailed Application Instructions:
Mix fertilizer evenly into the top 4-6 inches of your garden bed soil 2-3 weeks before planting.
Regularly apply compost or natural fertilizers monthly throughout the growing season for sustained nourishment.
How to Get Your Vegetable Garden Ready for Spring Planting
Carefully Plan Your Vegetable Garden Layout
Planning your garden layout thoughtfully increases yield and reduces workload. Rotate crops annually, and strategically group plants by their watering, sunlight, and nutrient requirements. Companion planting, like pairing tomatoes with basil, naturally deters pests and enhances flavor.
Step-by-Step Planning Guide:
Use garden planner software or a garden journal to sketch out your layout visually.
Ensure optimal spacing according to plant growth habits to promote healthy plant development.
Intensively Condition Vegetable Garden Beds
Vegetables thrive in nutrient-rich soil. Intensively incorporate compost, worm castings, or composted manure deeply into the top 6-12 inches of your garden soil.
In-Depth Conditioning Guide:
Aerate your soil thoroughly with a manual tiller or garden fork.
Layer soil amendments evenly and mix thoroughly for even nutrient distribution.
Strategic Mulching for Weed Control and Moisture Retention
Mulching is crucial for a thriving vegetable garden. Organic mulch options include straw, grass clippings, or shredded leaves.
How to Apply Mulch:
Maintain a consistent mulch layer approximately 2-3 inches thick.
Leave a gap around plant stems to prevent rot and disease.
Essential Final Preparations for Garden Planting
Comprehensive Irrigation and Drainage Check
Inspect irrigation systems like hoses, drip lines, and sprinklers thoroughly for functionality. Proper drainage is essential to avoid issues like root rot.
Detailed Inspection Checklist:
Test irrigation components for leaks or blockages.
Improve drainage by mixing coarse sand into heavy soils or creating gentle slopes for water runoff.
Essential Tool Maintenance for Garden Health
Proper tool maintenance safeguards plant health. Clean, sharpen, and disinfect gardening tools regularly using a quality sharpening and cleaning kit.
Proper Seedling Hardening Off Techniques
Carefully hardening off seedlings dramatically improves transplant success. Gradually introduce seedlings to outdoor environments over a 7-10 day period.
How-To Harden Seedlings:
Begin with short exposure periods, increasing time daily.
Protect seedlings initially with garden fabric or bed sheets during harsh weather.
Frequently Asked Questions (Optimized for Featured Snippets)
Q: When should I prepare my garden beds for spring planting?
A: Ideally, begin garden preparations about 2-4 weeks before your area's last anticipated frost.
Q: How do I organically improve garden soil effectively?
A: Regularly add compost, peat moss, aged manure, or worm castings to organically enhance your soil.
Q: Is annual soil testing really necessary?
A: Annual or biannual soil testing is highly recommended to effectively maintain optimal soil health.
Elevate Your Gardening Experience
Proper garden preparation is the cornerstone of gardening success. By meticulously following these detailed instructions, you'll create garden beds primed for robust growth, vibrant blooms, and abundant vegetable harvests!
Spring is finally here, and you're eagerly thinking about how to get a garden bed ready for planting. But let's face it—your garden doesn't magically bounce back after winter.
Instead, you're facing compacted soil, stubborn weeds, potentially depleted nutrients, and general neglect from months of harsh weather. Ignoring this could mean lackluster plants, fewer veggies, and disappointing blooms.
You deserve a garden bursting with life, vibrant colors, and bountiful produce.
I'm about to guide you meticulously through every detailed step required to transform your garden into a flourishing paradise.


Revitalize Your Raised Garden Beds Effectively


support@rusticrootshomestead.com
© 2024 Rustic Roots Homestead - All rights reserved.